Why the Default Interface Is Just a Starting Point
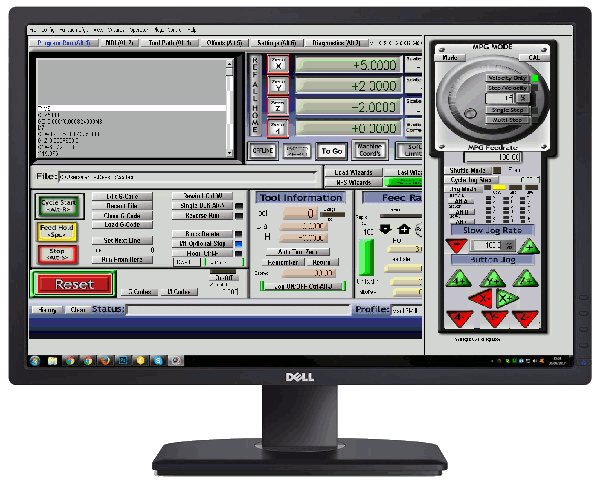
Mach3 ships with a general-purpose screen built to work reasonably well on any machine. That also means it is not tuned for yours. Mach3 custom macros and screen sets close that gap: macros turn repeated sequences into a single command, and a screen set puts the controls an operator actually uses in front of them.
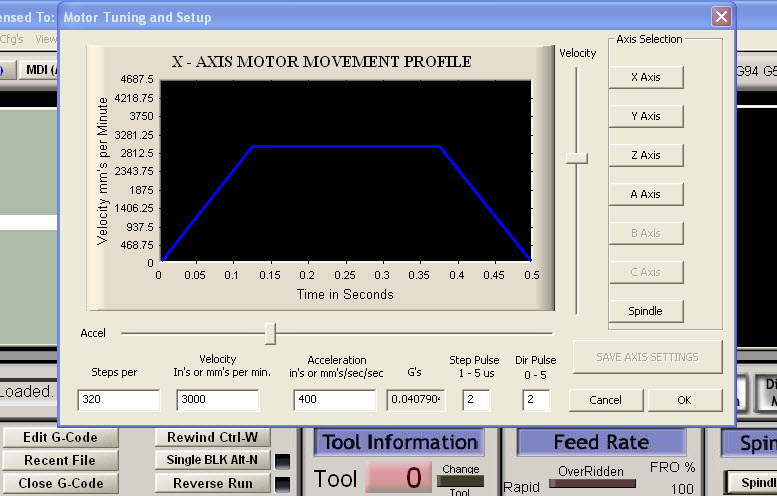
This guide explains how both work, shows three example macros, and covers when the effort pays off. It assumes the machine already runs correctly. If it does not, finish the Mach3 setup guide and Mach3 motor tuning first, because a macro only repeats whatever the machine already does.
What Mach3 Macros Actually Do
A macro is a short script that carries out steps an operator would otherwise do by hand: homing axes in a set order, switching an output, running a tool change routine, or stepping through a measurement cycle. Mach3 macros are written in a Basic dialect, usually called VB script, and saved as .m1s files.
There are two ways to run one:
- M-code macros. A file named
M1201.m1sruns whenever G-code or the MDI line callsM1201. The call can pass up to three values with the P, Q, and R words, so one macro can cover several cases. - Button scripts. The same kind of script is attached to an on-screen button, so the operator runs it with one click.
Tool changes use the same mechanism. Mach3 runs the M6Start macro when a program calls M6, which is where a shop adds its own tool change routine.
Three Mach3 Macro Examples
These are deliberately short. Treat them as starting points, change the signal names and positions to match your machine, and test each one in the air with a hand on the E-stop.
They are illustrative examples based on the Mach3 macro reference, and script behavior can differ between Mach3 versions and motion controllers.
1. Home Z first, then X and Y
Homing Z first lifts the tool clear of clamps and stock before the table moves.
' Button script: reference Z, then X and Y together
RefCombination(4)        ' Z = 4
While IsMoving()
  Sleep 100
Wend
RefCombination(1 + 2)    ' X = 1, Y = 2
While IsMoving()
  Sleep 100
Wend
Message "Machine homed"
2. Timed air blast with a parameter
Saved as M1201.m1s, this switches an output on for the number of seconds given by P. M1201 P3 in a program gives a three-second blast.
' M1201.m1s - air blast for P seconds
Dim Secs
Secs = Param1()
If Secs <= 0 Then Secs = 2
ActivateSignal(OUTPUT2)
Sleep(Secs * 1000)
DeactivateSignal(OUTPUT2)
3. Park the machine for loading
This retracts Z, then moves the table to a loading position in machine coordinates. The machine must be homed first.
' Button script: park for part loading
Code "G53 G0 Z0"
While IsMoving()
  Sleep 100
Wend
Code "G53 G0 X0 Y0"
While IsMoving()
  Sleep 100
Wend
Message "Parked - load next part"
The While IsMoving() loop matters. Code only queues a move and returns straight away, so without the wait the script carries on while the axis is still travelling.
Designing a Mach3 Screen Set Around Real Use
A screen set is the file, plus its graphics, that defines what Mach3 shows: every button, readout, and indicator light. Mill screen sets use the .set extension, lathe screen sets use .lset, and both are loaded from View > Load Screens.
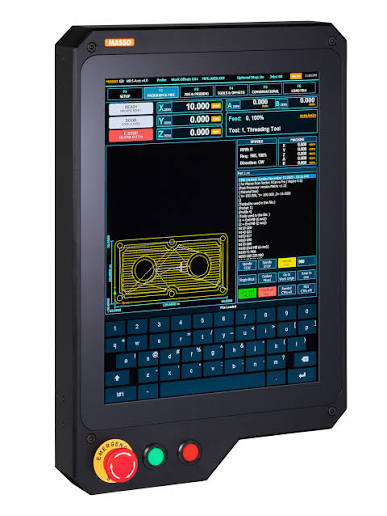
A custom screen set rearranges that layout around one machine and one way of working. In practice that usually means:
- Large buttons for the few actions used all day, such as home, park, zero, and cycle start.
- Rarely used settings moved off the main page.
- Buttons that run your own macros, like the park routine above.
- Custom readouts and indicator lights that scripts can write to, for a part counter or a clamp status.
Screen sets are built in a separate screen designer. The Mach3 screensets page lists the available designers along with ready-made screens to study or adapt.
One caution: a button script lives inside the screen set. Load a different screen and that function is gone, even though your M-code macro files are still on disk. Keep anything a G-code program depends on in an M-code macro, and use buttons for operator convenience.
Before You Customize
- Back up first. Copy your profile’s
.xmlfile, your macro folder, and the current screen set before changing anything. - Work on a copy. Save the screen under a new name and edit that, so the original still loads if something goes wrong.
- Test without a tool. Run every new macro in the air, at reduced feed, before trusting it near a part.
- Wait for motion. Any script that commands a move needs a wait loop before its next step.
- Comment the script. A line explaining what each output or position means saves an hour of guessing a year later.
The Mach3 Macro Programmers Reference lists the available script functions. It also warns that some behave differently between Mach3 versions, which is one more reason to test on your own machine.
Where Customization Pays Off Most
Customization returns the most in shops that repeat the same jobs. In small-batch production runs, a macro that saves twenty seconds of clicking per part adds up across a run, and a fixed sequence removes a common source of operator error.
A cleaner screen also shortens fault-finding. When the readouts that matter are on one page, Mach3 troubleshooting and calibration starts from better information.
For a one-off hobby job, the default screen and a couple of simple macros are usually enough.
Want an Interface Built Around Your Workflow?
RunTechEngineer writes custom macros and builds screen sets that match how a shop actually runs, replacing repetitive manual steps instead of leaving Mach3 in its generic default state. See our Mach3 CNC controller services, or contact us with your machine type and the steps you repeat most.