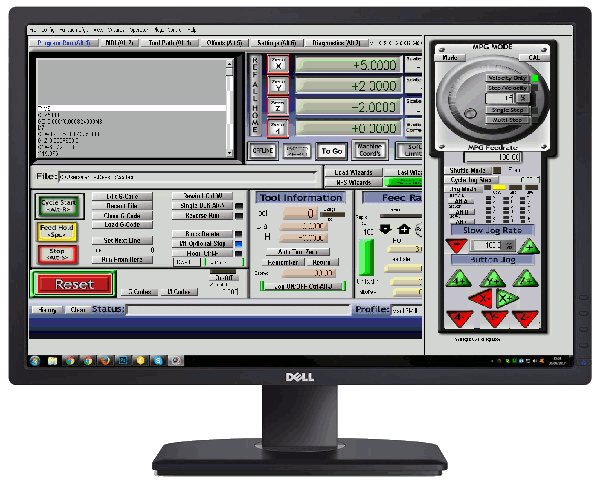
Why Symptoms Can Be Misleading
Mach3 troubleshooting is hard for one reason: the same symptom can have several very different causes. A part machined slightly out of spec, an axis that occasionally stalls, or a machine that behaves erratically can come from a loose connection, a software setting, or a genuine mechanical fault. Often the visible symptom points in more than one direction at once.
This guide matches each common symptom to its likely causes, then shows how to confirm the cause before changing anything.
A Systematic Approach Beats Guesswork
Effective troubleshooting works through the possibilities in a fixed order instead of changing settings at random and hoping something improves. It takes slightly longer up front but avoids introducing new problems while chasing the original one.
- Back up first. Copy your profile file (the
.xmlinC:\Mach3) so you can always return to where you started. - Check software settings. They are the quickest to inspect and the easiest to put back.
- Check the mechanics. Loose couplings, binding, and worn nuts cause more accuracy problems than software does.
- Check the electrical side. Noise and marginal signals are the hardest to see, so rule out the rest first.
- Change one thing at a time, and test after each change.
Mach3 Troubleshooting by Symptom
Find your symptom, then start with the first check before looking further.
| Symptom | Likely causes | First check |
|---|---|---|
| Axis loses position during a job | Acceleration or velocity too high, binding, low motor current | Lower acceleration by a third and rerun the job |
| Every dimension is off by the same percentage | Steps per unit is wrong | Command 100 mm and measure the real travel |
| Error appears only after a change of direction | Backlash in the screw, nut, or coupling | Measure backlash with a dial indicator |
| Position creeps one way over a long job | Step signal polarity wrong, so one step is lost at each reversal | Toggle Step Low Active for that axis |
| Limit or E-stop triggers at random | Electrical noise on the input wiring | Raise the debounce interval, then inspect cable routing |
| Faults start when the spindle runs | Noise from the VFD or spindle cable | Run the same program with the spindle off |
| Motors will not move at all | E-stop active, wrong plugin, driver not enabled | Check that Reset is not flashing |
| Motion is rough or jerky at all speeds | Unstable pulse timing or step pulse too short | Increase Step Pulse, then test the PC with DriverTest |
| Circles come out oval or with flats | Backlash, or steps per unit differs between axes | Calibrate both axes, then measure backlash |
If the machine never ran correctly, the cause is more likely in the initial configuration. Work through our Mach3 setup guide before troubleshooting further.
Lost Steps
Lost steps are the most common Mach3 fault and the most deceptive, because Mach3 never reports them. The software still believes the axis is where it should be.
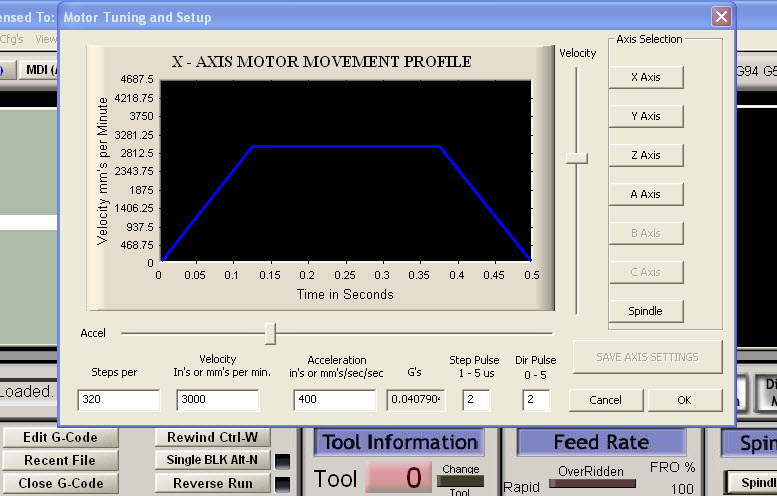
Many accuracy problems and lost steps trace back to velocity or acceleration set too high, so check your Mach3 motor tuning before looking for a hardware fault.
To confirm lost steps:
- Zero the axis against a dial indicator.
- Run a program with 20 or more rapid moves and reversals.
- Return to zero and read the indicator.
An offset means steps were lost. Lower acceleration first, then velocity. If the offset remains at conservative settings, turn the screw by hand with the motor unpowered and feel for tight spots, then check the driver current setting.
Backlash
Inconsistent dimensions frequently come down to backlash in the mechanical drive, not anything in the software. Backlash is the lost motion when an axis reverses, caused by play in the nut, the coupling, or the bearings.
To measure it:
- Move the axis 5 mm in the positive direction and stop against a dial indicator. Zero the indicator.
- Move a further 1 mm in the same direction.
- Command 1 mm back in the negative direction.
- Read the indicator. Whatever it shows short of zero is the backlash.
Fix the mechanics first: tighten the coupling set screws, adjust or replace the anti-backlash nut, and check the end bearings. Mach3 can also compensate under Config → Backlash, where you enter the measured value for each axis and tick Backlash Enabled. Treat compensation as a patch for a small remainder, not a substitute for a worn nut.
Electrical Noise
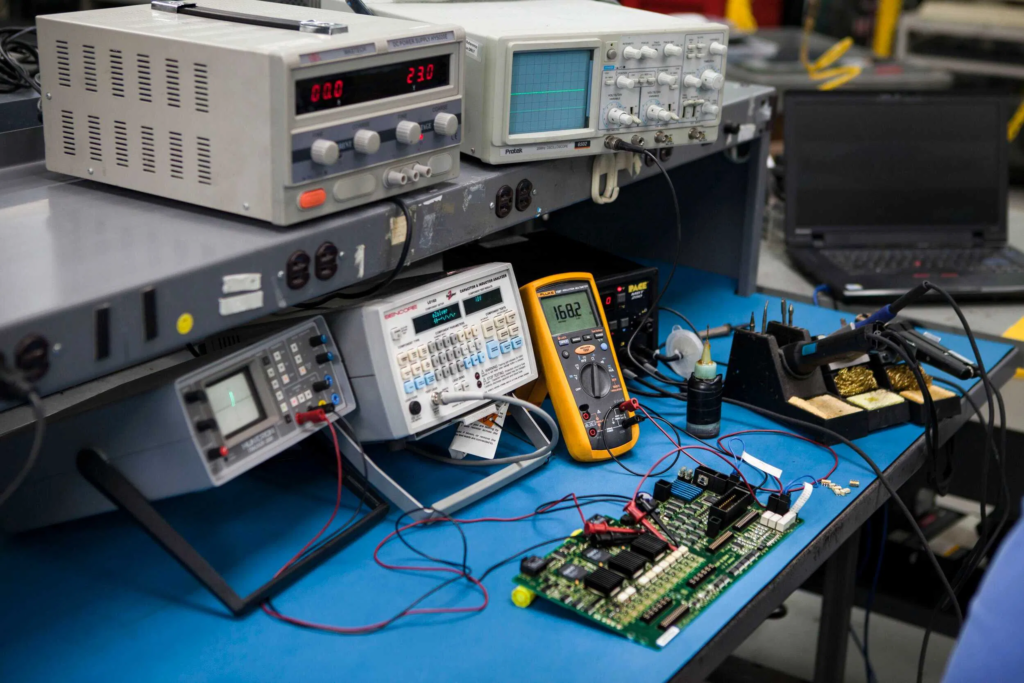
Erratic behaviour under load often points to electrical noise interfering with a signal wire, especially on machines with long cable runs near motors or power electronics. The clue is timing: faults that appear only when the spindle, a VFD, or a coolant pump is running are almost always noise.
- Separate the cables. Keep limit switch and step/direction wiring away from motor and spindle cables. Cross them at right angles where they must meet.
- Use shielded cable for signals, with the shield grounded at the controller end only.
- Ground everything to one point. Multiple ground paths create loops that pick up noise.
- Raise the debounce interval under Config → General Config. It makes Mach3 ignore very short pulses on inputs.
- Prefer normally closed switches. A broken wire then stops the machine instead of going unnoticed.
Debounce hides noise, it does not remove it. If you need a large value to stop false triggers, fix the wiring.
The Role of Calibration
Calibration re-verifies that the machine’s real movement matches what Mach3 believes is happening. It confirms that commanding 100 mm of travel truly produces 100 mm, and that repeated moves to the same position land in the same place each time.
Drift creeps in gradually as mechanical components wear, which is why periodic recalibration matters even on a machine that was set up correctly to begin with.
A calibration routine
- Travel. Command a long move on each axis and measure it. Correct steps per unit with the Set Steps per Unit button on the Settings screen (Alt-6).
- Repeatability. Zero a dial indicator, move away, and return ten times. The readings should agree.
- Backlash. Measure each axis as described above.
- Squareness. Cut a large square and measure both diagonals. Equal diagonals mean the X and Y axes are square.
Record the results with the date. A number that changes between checks tells you which component is wearing. The official Mach3 setup documentation describes the underlying settings.
When the Fix Is Not a Quick Adjustment
Some problems cannot be tuned away. A control PC with unstable pulse timing, a breakout board with no isolation, or drivers that are undersized for the motors will keep producing faults whatever the settings. In those cases the real fix is a deeper retrofit, usually a new motion controller or drivers.
Machine Acting Up? Let’s Diagnose It Properly
RunTechEngineer troubleshoots and recalibrates Mach3-controlled machines systematically, tracing problems to their actual root cause instead of guessing at fixes. See our Mach3 CNC controller services, or contact us with the symptom, when it happens, and what you have already tried.