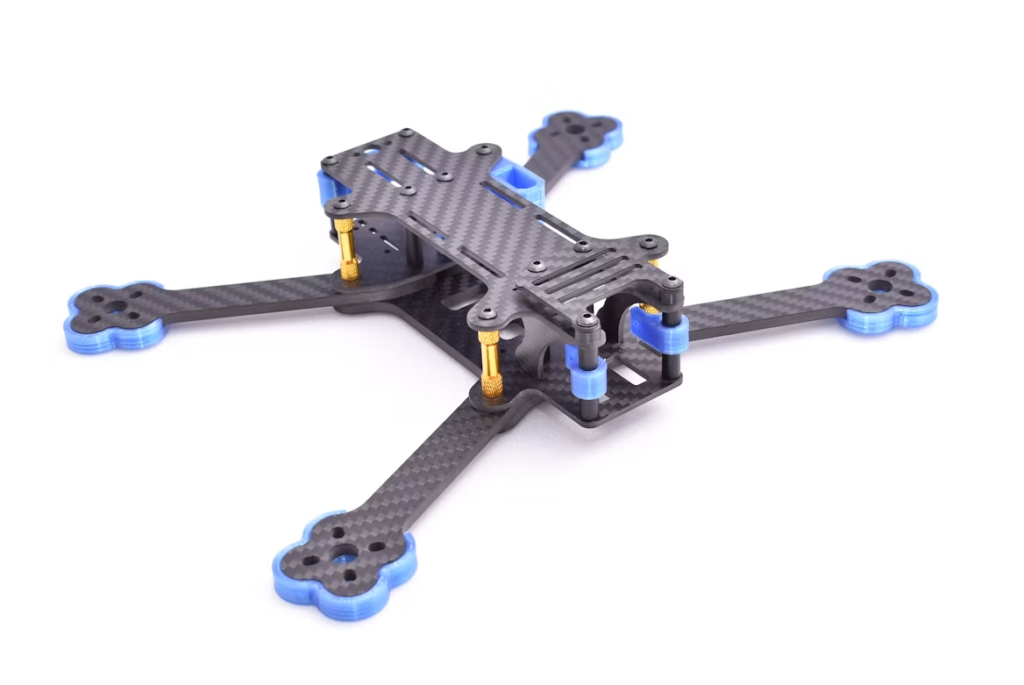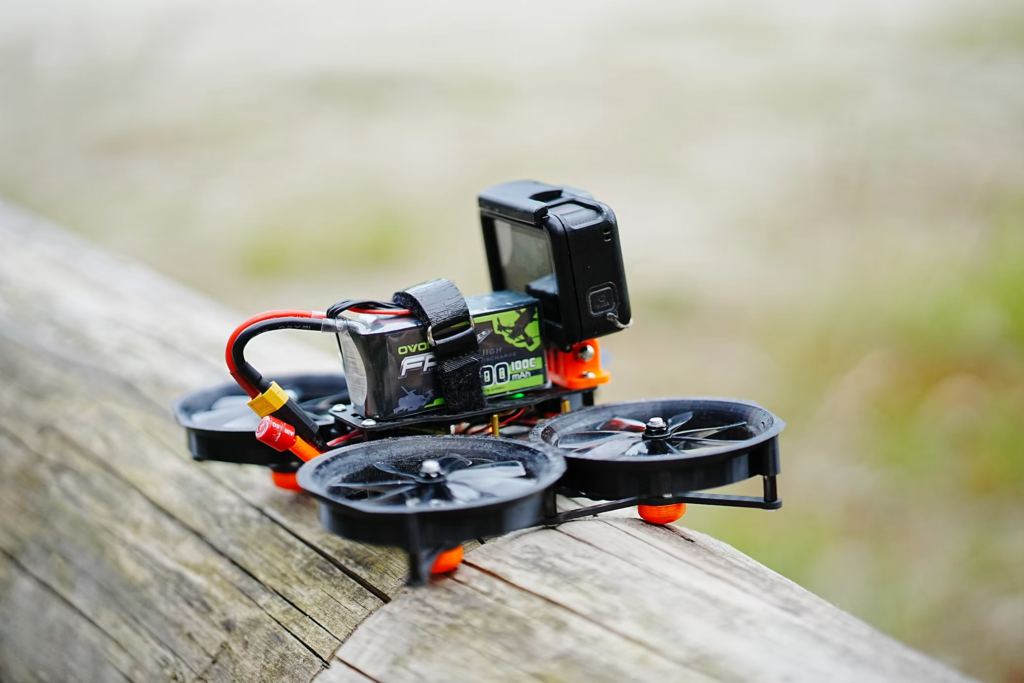
Two Manufacturing Methods, Complementary Strengths
Once a frame has passed structural simulation, building a physical prototype usually means combining two different manufacturing processes rather than relying on just one, since each is suited to different parts of a drone.
Where 3D Printing Fits
3D printing excels at complex geometries that would be difficult or impossible to machine — camera mounts, custom brackets, and organic shapes optimized by simulation results. It is also fast and inexpensive for iterating on a design, making it ideal for parts likely to be revised more than once before the design settles.
Where CNC Machining Fits
CNC-machined parts take over where strength, precision, or a fine surface finish genuinely matter — arms bearing significant flight loads, precision mounting points for the flight controller, or structural elements that a 3D printed part simply cannot match in stiffness and long-term durability.
Iterating Toward a Flying Prototype
A typical prototyping cycle moves quickly between the two: 3D print a new bracket design overnight, test-fit it against CNC-machined structural components already on hand, and adjust based on what actually fits and flies well. This hybrid approach shortens the overall path from design file to a genuinely flying test unit compared to committing to one manufacturing method for the entire build.
Ready to Turn Your Drone Design Into a Flying Prototype?
RunTechEngineer combines 3D printing and CNC machining to move drone designs from simulation to a working flying prototype efficiently, using each process where it delivers the most value.
From here, it’s ready for flight testing and tuning of the flight control system — or Contact Us to discuss your drone project.
Related Posts
- Best Infill for Strength: Which Pattern and Percentage to Use
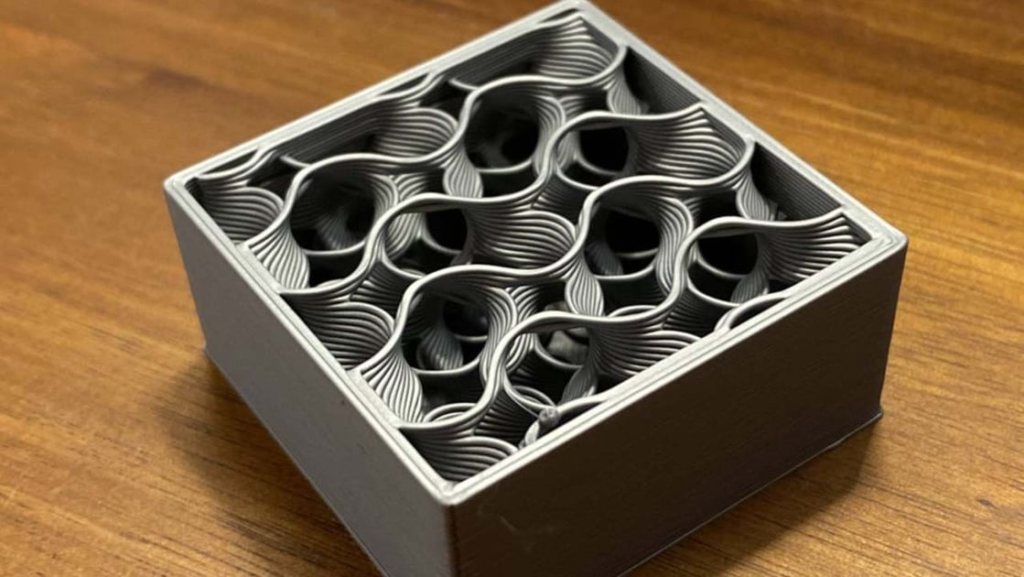 What is the best infill for strength? Test data shows walls and orientation matter more than pattern. Starting 3D print settings for each part type.
 - ArduPilot vs PX4: Which Drone Autopilot Should You Use?
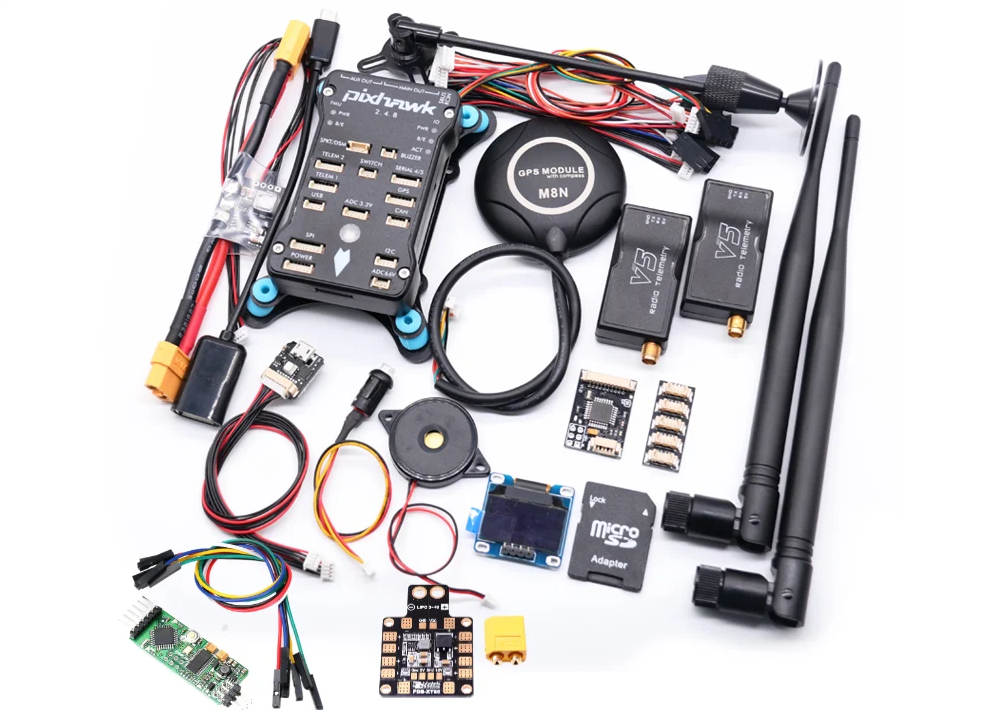 ArduPilot vs PX4 compared: licence, supported vehicles, ground stations, tuning, ROS 2, and which open-source autopilot fits your drone, research, or product.
 - ASA vs ABS: Which Filament Should You Use?
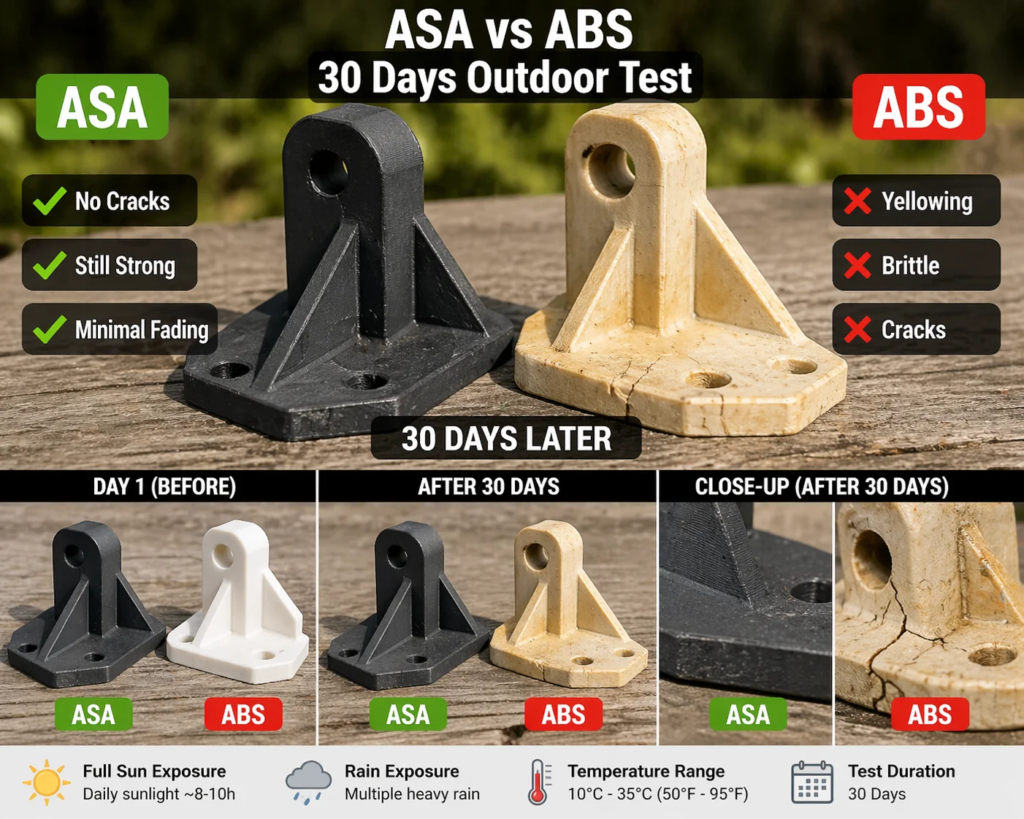 ASA vs ABS compared with datasheet numbers: strength, toughness, heat, UV and weather resistance, how hard each is to print, and which to choose for your part.